Why Spring Is the Best Time to Change Brake Rotors

Spring is the best time to change brake rotors after winter’s cold, salt, and ice cause corrosion and warping. Addressing them now prevents costly repairs, ensures safe stopping, and prepares your car for summer heat and road trips.
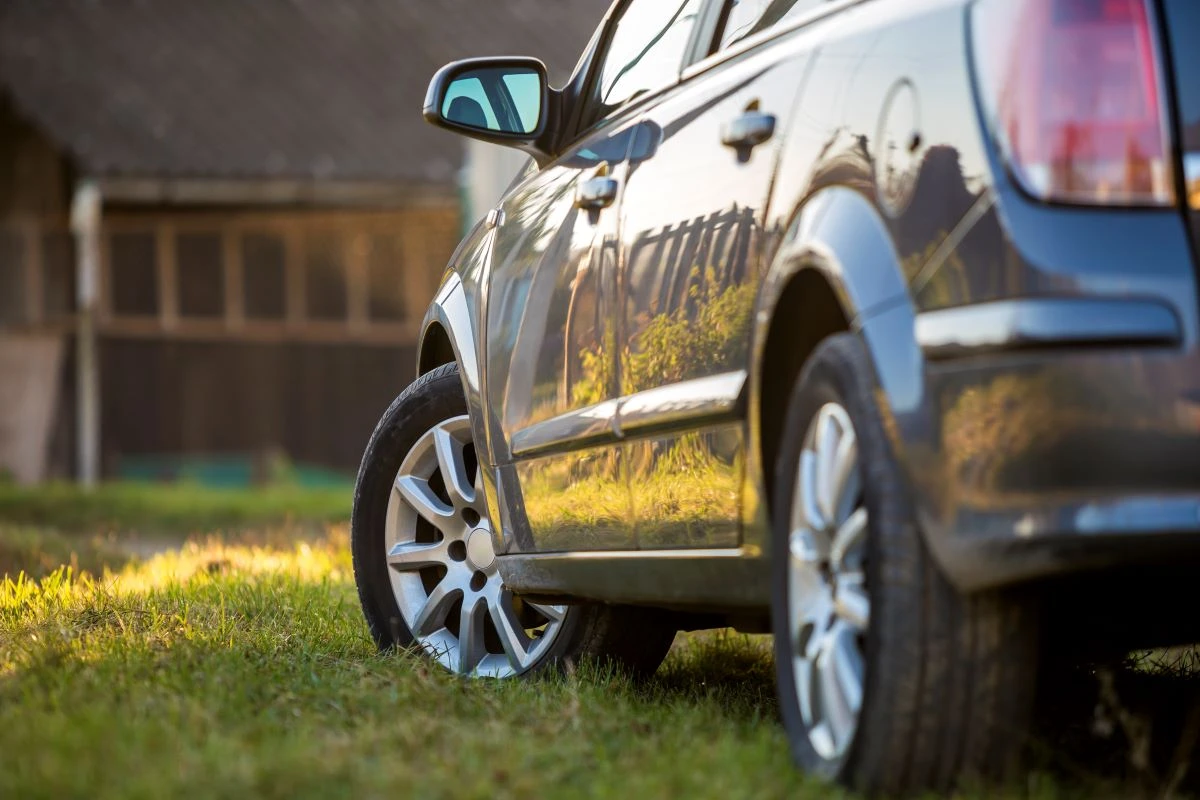

There’s something special about the first sunny days after a long winter. The roads clear, temperatures rise, and you start thinking about that first weekend road trip of the season. Spring is the perfect time to shake off the winter blues and ensure your vehicle is road-ready. But before you pack the car and hit the highway, there’s one critical question: are your brake rotors ready for the miles ahead?
If you want your car running smoothly when the weather warms up this spring, now is the time to give your rotors the attention they deserve. Spring isn’t just about cleaning out the garage—it’s the single best time to change your brake rotors. In fact, understanding why spring is the best time to change brake rotors starts with looking back at what winter left behind. Essential spring car maintenance helps address the effects of enduring cold temperatures, icy roads, potholes, and road salt, giving your car the TLC it needs after a harsh season.
What Winter Does to Your Brake Rotors
Think about what your car has been through over the few months. Cold temperatures, icy roads, potholes, and road salt—these aren’t just hard on your nerves; they’re brutal on your brake system. After winter, road salt your car is exposed to can stick around and cause ongoing damage if not addressed during spring maintenance.
When your car is running cold on winter mornings, your rotors endure repeated cycles of heat and freezing. Every time you brake, they heat up. Splash through slush, and they cool down instantly. This kind of thermal stress is exactly what causes brake rotors to warp. Warping doesn’t happen overnight—it builds up over months of winter driving. But once it does, you’ll feel it as a pulsing brake pedal or vibration through the steering wheel. Slippery conditions from snow and ice often require more frequent braking, which accelerates wear on brake pads and rotors.
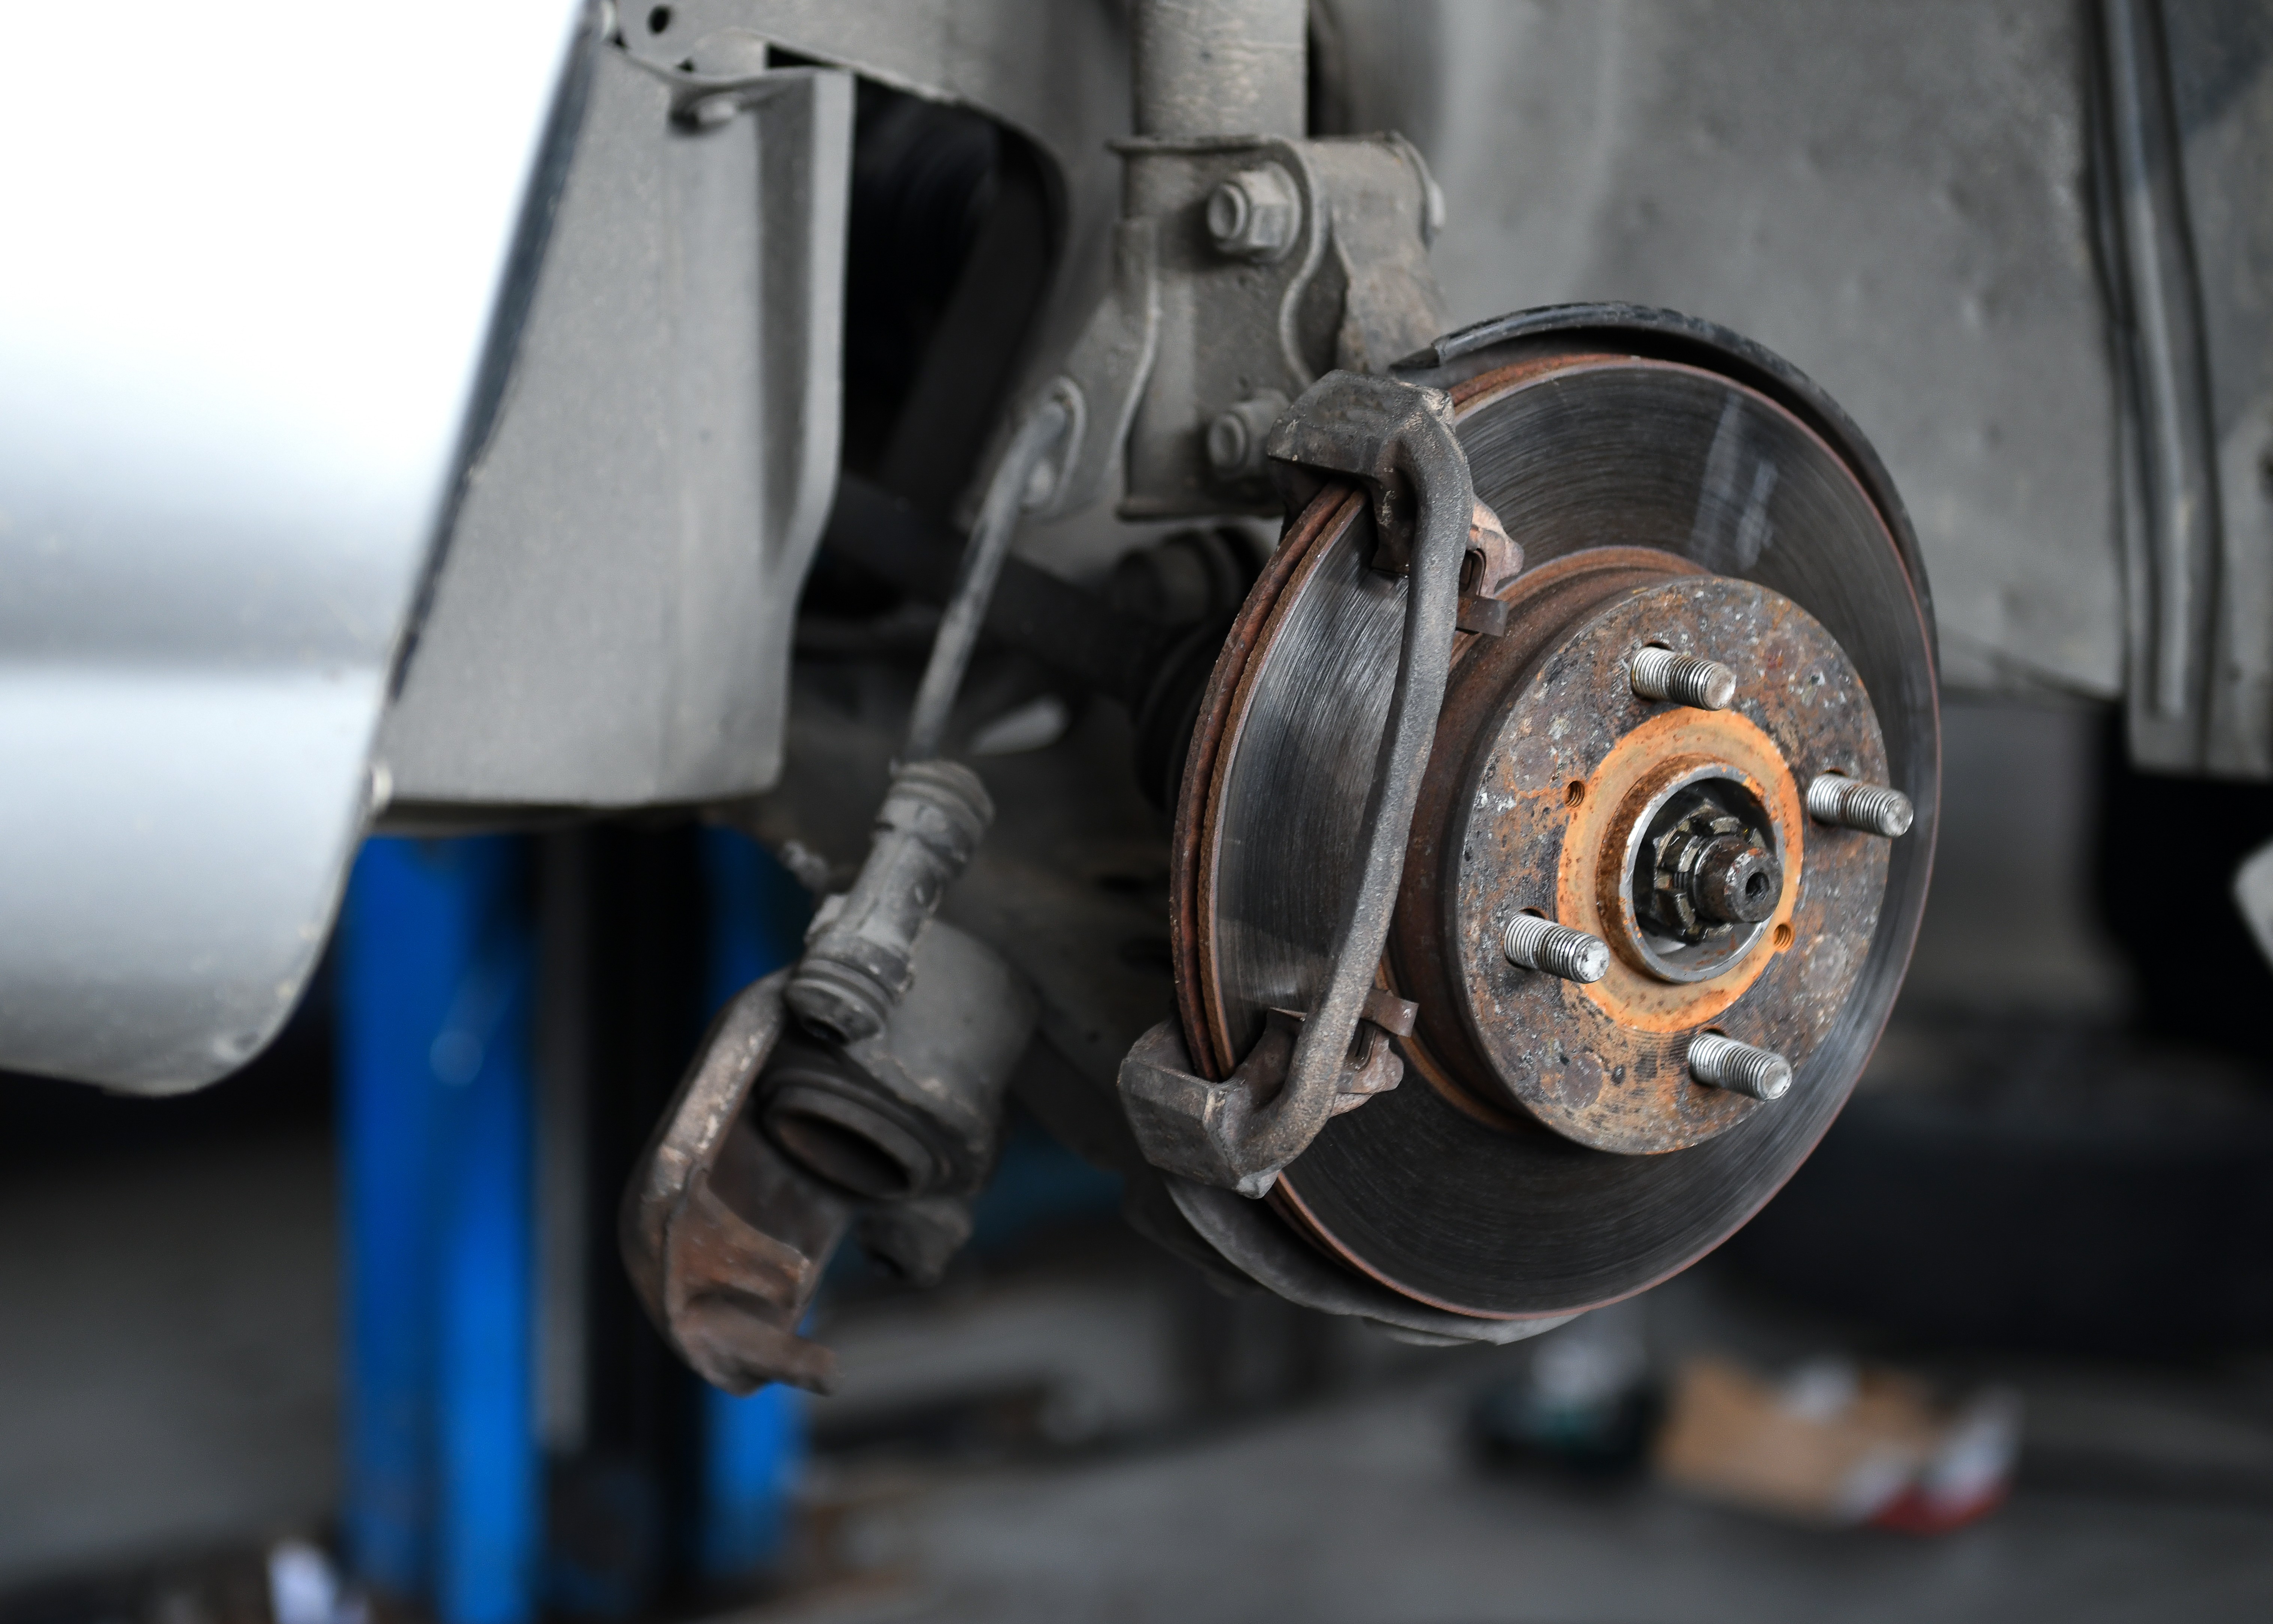
Then there’s the salt. Road salt clings to wheels and brake components long after the snow melts. Salt accelerates corrosion, leading to rusty brake rotors that not only look worn but also lose braking effectiveness. A rotor with heavy rust or deep grooves simply can’t provide the smooth, reliable stopping power you need, especially in wet or snowy conditions.
How to Know If Your Rotors Need Replacement
If you’re wondering how to know when to replace rotors, start by paying attention to what your car is telling you. Here are the most common signs:
Brakes squeal or grind – Over time, the brake pads wear down and grind against the rotors, causing a squeaking or grinding sound. Sometimes this noise appears even when you’re not braking. Excess moisture can cause rust to form on your rotors, making the brake pads squeal as you drive. In other cases, debris such as small rocks or tree branches may become lodged between the brake pads and rotors—a common issue in rural areas.
Pulsing brake pedal – A pedal that vibrates when you apply the brakes is one of the clearest signs of warped rotors, often caused by the cold temperatures and icy roads of winter.
Visible rust or grooves – Rusty brake rotors with deep grooves won’t provide consistent friction, especially in wet or snowy conditions. If you see scoring or heavy corrosion, replacement is likely needed.
Uneven wear – If one rotor looks significantly more worn than the others, it’s time to address the imbalance. This is often the result of potholes and road salt taking a toll on specific wheels.
Checking for these signs should be part of your routine maintenance to ensure your vehicle’s safety and efficiency.

Spring Gives You the Perfect Window to Replace Rotors
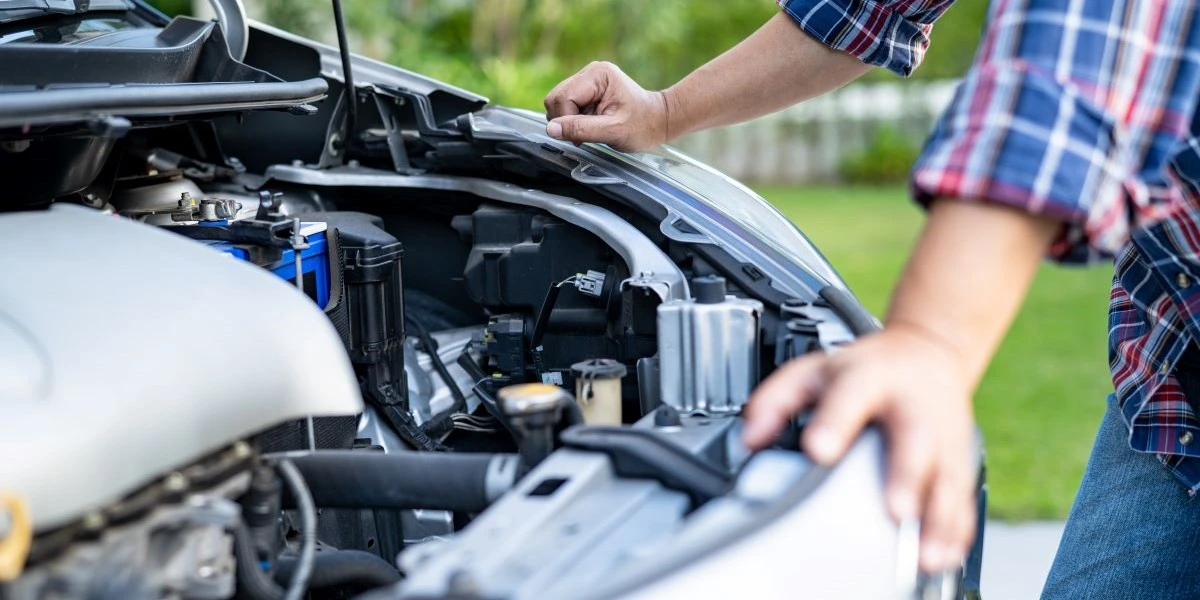
When the weather warms this spring, you have something winter never offers: time. This is the ideal season to schedule your spring maintenance—and to make sure your brake rotors get the attention they deserve. Unlike winter, when sudden breakdowns send drivers scrambling for emergency repairs, spring lets you be proactive. A thorough brake inspection now can catch issues before they turn into costly repair bills.
Springtime services and spring car maintenance tips can help prepare your vehicle for the months ahead.
Spring maintenance isn’t one-size-fits-all. Depending on what your inspection reveals, you have several options:
-
Cleaning – Sometimes the problem is simply accumulated road salt and grime. A thorough cleaning of the rotors and calipers can remove surface corrosion and restore smooth operation.
-
Brake fluid service – Moisture absorbed into brake fluid over winter can reduce braking performance. Flushing and replacing the fluid is a low-cost service that improves pedal feel.
-
Resurfacing brake rotors – Also called machining, this involves shaving off a thin layer to create a smooth surface again. It’s a good option when rotors have minor surface imperfections but are still within the manufacturer’s thickness specification.
-
Full replacement – If the rotors are warped, below minimum thickness, or heavily corroded, replacement is the only safe option. This is also the best time to install new brake pads and rotors together.
Spring offers mild weather and more daylight, making DIY brake jobs more comfortable.
To stay ahead of potential problems, schedule your spring service appointment and book your spring maintenance today to avoid future issues and ensure your vehicle performs reliably all season.
Replacing worn-out brake pads and rotors in spring helps prevent issues during peak driving season.
How Much Are Brakes and Rotors?
Cost is always a consideration. When drivers ask how much brakes and rotors cost—or how much for brakes and rotors—the answer depends on the condition of your current components and the quality of parts you choose.
Here’s a breakdown of typical costs:
|
Service |
Typical Cost Range (per axle) |
|---|---|
|
Brake pad replacement only |
$150–$300 |
|
Resurfacing brake rotors |
$25–$50 per rotor |
|
Rotor replacement only |
$100–$400 per axle |
|
Full brake job (pads + rotors) |
$300–$800 per axle |
Quality aftermarket brake parts can provide reliable performance at a lower cost than OEM parts. For example, Metrix Premium Chassis Parts offers durable brake solutions for a wide range of vehicles.
When it comes to brake pads and rotors, material choice significantly affects both cost and performance:
Pad Materials:
-
Organic pads – $50–$100 per axle. Quiet but wear faster.
-
Semi-metallic pads – $80–$150 per axle. Strong stopping power, can be noisier.
-
Ceramic pads – $100–$250 per axle. Quiet, long-lasting, less dust. Many consider ceramic the best brake pads and rotors suggestion for daily drivers. Ceramic brake pads provide quieter braking and less dust compared to semi-metallic options.
Rotor Materials:
-
Standard cast iron – $40–$100 per rotor. Reliable but prone to rust.
-
Coated rotors – $60–$150 per rotor. Protective coating prevents rust—especially valuable after enduring cold temperatures and road salt.
-
Drilled or slotted rotors – $100–$300 per rotor. Designed for performance driving.
If you choose resurfacing instead of replacement, the cost is significantly lower—typically $25–$50 per rotor—but this only makes sense if your rotors are still thick enough and free from cracks or deep grooves.
When selecting parts or a shop, it's important to choose high quality service tailored to your vehicle's needs to ensure optimal performance and safety.


How to Complete a Spring Brake Rotor Replacement
If you’re comfortable with basic automotive work, replacing your brake rotors is a manageable weekend project. Here’s how to do it properly.
What You’ll Need
|
Tool |
Purpose |
|
Floor jack and jack stands |
Safely lift and support the vehicle |
|
Lug wrench |
Remove wheels |
|
C-clamp or brake caliper tool |
Compress caliper piston |
|
Socket set and torque wrench |
Remove and tighten bolts to spec |
|
Brake cleaner spray |
Clean parts before installation |
|
Wire brush |
Clean rust from hub surface |
|
Micrometer (optional) |
Measure rotor thickness |
|
Anti-seize compound |
Prevent hub corrosion |
|
New brake rotors |
Replacement parts |
|
New brake pads |
Recommended to replace with rotors |
Step-by-Step Instructions
Part 1: Safety and Preparation
Start by parking on level ground. Slightly loosen the lug nuts, then raise the vehicle with a floor jack and secure it on jack stands. Never work under a vehicle supported only by a jack. Remove the wheels. This is your foundation—rushing here can lead to accidents, so take your time.
Part 2: Removing the Old Components
With the wheels off, locate the caliper mounting bolts on the back side of the caliper. Remove them with a socket wrench and carefully lift the caliper off the rotor. Do not let it hang by the brake hose—use a wire or bungee cord to suspend it from the suspension. Next, remove the caliper bracket by taking out the larger bolts and setting the bracket aside. The rotor should now be free. If it’s stuck due to rust, tap it gently with a rubber mallet around the hub area. Some rotors have a small threaded hole—insert a bolt to push it off. Once loose, slide it off.
Part 3: Cleaning and Preparation
Before installing new parts, the hub surface needs attention. Use a wire brush to thoroughly clean the hub, removing all rust and debris. Any buildup here can cause the new rotor to sit unevenly, leading to vibration. Apply a thin layer of anti-seize compound to the hub face to prevent future corrosion and make future removal easier.
If your new rotors are uncoated, wipe off the protective oil with brake cleaner before installation. Coated rotors can go on as-is.
Part 4: Installing New Rotors and Pads
Slide the new rotor onto the hub, ensuring it sits flat and flush. Reinstall the caliper bracket and torque its mounting bolts to factory specifications—a torque wrench is essential here. Over-tightening can damage components; under-tightening is dangerous.
Before reinstalling the caliper, compress the piston to make room for the new, thicker brake pads. Use a C-clamp or brake tool to slowly push the piston back in, placing an old pad against it to distribute pressure evenly. As you compress, brake fluid will return to the master cylinder—check the fluid level to prevent overflow.
Now install the new brake pads into the caliper bracket. Replace any clips or shims that came with the pads, and apply a small amount of brake lubricant to the contact points (not the friction surface). Carefully lower the caliper over the new brake pads and rotor, then install and torque the mounting bolts to spec.
Part 5: Final Steps and Break-In
Before driving, pump the brake pedal a few times to seat the brake pads against the rotors. Check the brake fluid level and top off if needed. Reinstall the wheels, lower the vehicle, and torque the lug nuts to factory specifications.
Finally, a proper bedding-in procedure is essential for new brakes. Find a safe, open road. Perform several moderate stops from 30–40 mph to build heat, then a few firmer stops from 50–60 mph, allowing time to cool between each. This transfers a thin, even layer of pad material to the rotor surface for optimal braking performance.
A Few Final Tips
-
Take your time. Rushing leads to mistakes. Double-check every bolt.
-
Work on one axle at a time. This keeps things organized and gives you a reference if you forget how parts go back together.
-
When in doubt, consult your vehicle’s service manual. Torque specs and procedures vary by make and model.
Replacing your brake rotors in spring not only addresses winter wear but also prepares your car for the warmer months ahead. With the right tools and a little patience, you can complete this job safely and confidently—and enjoy smoother stops all season long.
Note: If you prefer not to DIY, professional technicians provide honest, high-quality service and personalized care to ensure your vehicle is handled with integrity and expertise during maintenance and repairs.
Spring Prep Also Helps You Avoid Summer Heat Issues
There’s another reason spring is the right time to address your rotors: summer heat. When summer heat hits, brake systems work harder. Hot pavement, heavier traffic, and long road trips all add stress to your brakes. If your rotors are already worn or warped from winter, the summer heat can push them past their limit.
By taking care of them now—whether through cleaning, fluid service, resurfacing, or full replacement—you avoid the risk of brake fade or reduced stopping power during the hottest months. Taking care of your brakes in spring helps keep your car safe during summer, ensuring reliable performance and peace of mind for all your warm-weather driving. You also gain peace of mind knowing your car is ready for whatever the season brings.
Your Car Deserves a Fresh Start
After enduring cold temperatures, icy roads, and heavy salt, your car deserves a little TLC. Spring is the reset button. It’s the season to shake off the winter blues and your vehicle’s accumulated wear, and to make sure everything is ready for the sunny days ahead. Many experts believe spring maintenance is essential for protecting your vehicle after winter and ensuring it’s prepared for the coming months.
Brake rotors may not be the most glamorous part of your car, but they’re one of the most critical. They’re what stand between you and a sudden stop, between a safe weekend road trip and an unexpected roadside delay.
So before you head out for that first weekend road trip of the season, take a moment to check your rotors. Whether they need cleaning, fluid service, resurfacing, or full replacement, now is the best time to act. Your car will stop smoother, ride quieter, and handle better—and you’ll have one less thing to worry about as you enjoy the miles ahead.
After all, nothing says spring quite like the confidence of knowing your car deserves the best care. And that confidence starts with understanding why spring is the best time to change brake rotors. At our shop we believe spring is the ideal season for car care, so make sure your vehicle gets the attention it needs after winter.
FAQs
1. Do I have to replace my brake pads at the same time as my rotors?
Yes—it’s always the best practice to replace both together. Think of your brake rotors and brake pads as a matched set. Installing new brake pads against an old, worn rotor surface means they won’t bed in properly. You’ll lose stopping power, and the uneven surface can cause vibrations or premature wear on your new components. When you install fresh brake pads with new rotors, they wear in together, giving you smooth braking, consistent friction, and the safety you expect from your vehicle. For daily drivers, this is the most reliable approach.
2. Is it safe to drive if my brakes are making a grinding noise?
No—a grinding noise is a serious red flag, and you should stop driving as soon as it’s safe. That harsh, metallic sound usually means your brake pads have worn completely through. Now the metal backing plate is scraping directly against the brake rotor. This severely compromises your stopping power and can quickly damage the rotor, caliper, and other brake components. Continuing to drive leaves you without an escape route in an emergency and turns a simple replacement job into a much more expensive repair. If you hear grinding, have your brake inspection performed immediately.
3. What’s the difference between resurfacing and replacing rotors?
Resurfacing (or “turning”) shaves a thin layer of metal off the rotor’s surface to make it smooth again. This can fix minor vibrations, but it’s only possible if the rotor remains above the manufacturer’s minimum thickness spec. With modern rotors being lighter and thinner than they used to be, resurfacing isn’t always an option.
Replacement means installing brand new rotors. This is often the more reliable long-term choice. New rotors—whether zinc-coated for corrosion resistance or standard factory rotors—give you full stopping power, predictable braking, and peace of mind. For most drivers, replacing brake pads and rotors together is the perfect solution to restore your brake system to like-new condition.
4. How often should I have my brakes inspected?
A good rule of thumb is at least once a year—but don’t wait if you notice changes. Your brake system is too critical to ignore. Schedule a brake inspection if you feel vibrations, hear noise, or notice longer stopping distances.
Since it’s easy to forget, building it into a routine is key. A full brake inspection includes checking rotors, brake pads, calipers, and fluid condition. During this maintenance, a technician will measure rotor thickness, check for worn brake pads, and ensure all components are in good shape. Catching issues early means you can plan your replacement on your schedule—not when you’re stranded on the side of the road.
5. Why would I pay more for drilled or slotted rotors if I just drive around town?
Honestly, for most daily driving, you don’t need them. Solid rotors are the standard for a reason—they’re durable, effective, and budget-friendly for everyday driving conditions.
Drilled and slotted rotors (sometimes called cross-drilled or slotted rotors) are designed for performance benefits. The holes and slots help with heat dissipation, allow gases to escape, and clear debris from between the pad and rotor. This improved braking performance is valuable for:
- Performance cars that see track time
- Trucks and SUVs that tow heavy loads
- Mountainous areas where brakes work harder
For typical city and highway driving, quality solid rotors deliver all the stopping power and durability you need without the extra cost. If you do choose drilled or slotted rotors, look for zinc-coated options to prevent rust.


