How to Repair a Car Radiator

Learn how to diagnose radiator leaks and clogs, and repair or replace your radiator to prevent engine overheating.
The radiator is an essential component of a car's cooling system, responsible for removing heat from the engine coolant and releasing it into the atmosphere. Over time, the radiator can become damaged or worn, leading to leaks, clogs, and other issues that can cause the engine to overheat. In this blog, we will discuss how to repair a car radiator, including identifying the problem, repairing or replacing it and so on.
1. Identify the Problems of the Car Radiator
Here are some steps you can follow to identify the problems of a radiator:
- Check for leaks:Look for any signs of coolant leaks around the radiator, such as puddles or dampness on the ground or under the car. You can also check for signs of corrosion or rust on the radiator itself.
- Check the coolant level:Make sure the coolant level is at the recommended level. If it's low, this could indicate a leak somewhere in the system.
- Check the radiator cap: A faulty radiator cap can cause issues with the cooling system. Check the cap for any signs of damage or wear.
- Check the thermostat: If the engine is overheating, it could be due to a faulty thermostat. Check the thermostat to ensure it's working properly.
- Check the radiator fan: The radiator fan helps to cool the engine by blowing air over the radiator. If the fan isn't working properly, the engine may overheat. Check the fan to ensure it's running when the engine is hot.
- Check the hoses: The hoses that connect the radiator to the engine and other parts of the cooling system can become damaged or worn over time. Check the hoses for any signs of damage or leaks.
- Check for clogs: Clogs in the radiator can prevent coolant from flowing properly, which can lead to overheating. Check for any signs of debris or buildup in the radiator.
By following these steps, you should be able to identify any problems with the radiator and determine what repairs or maintenance may be needed.
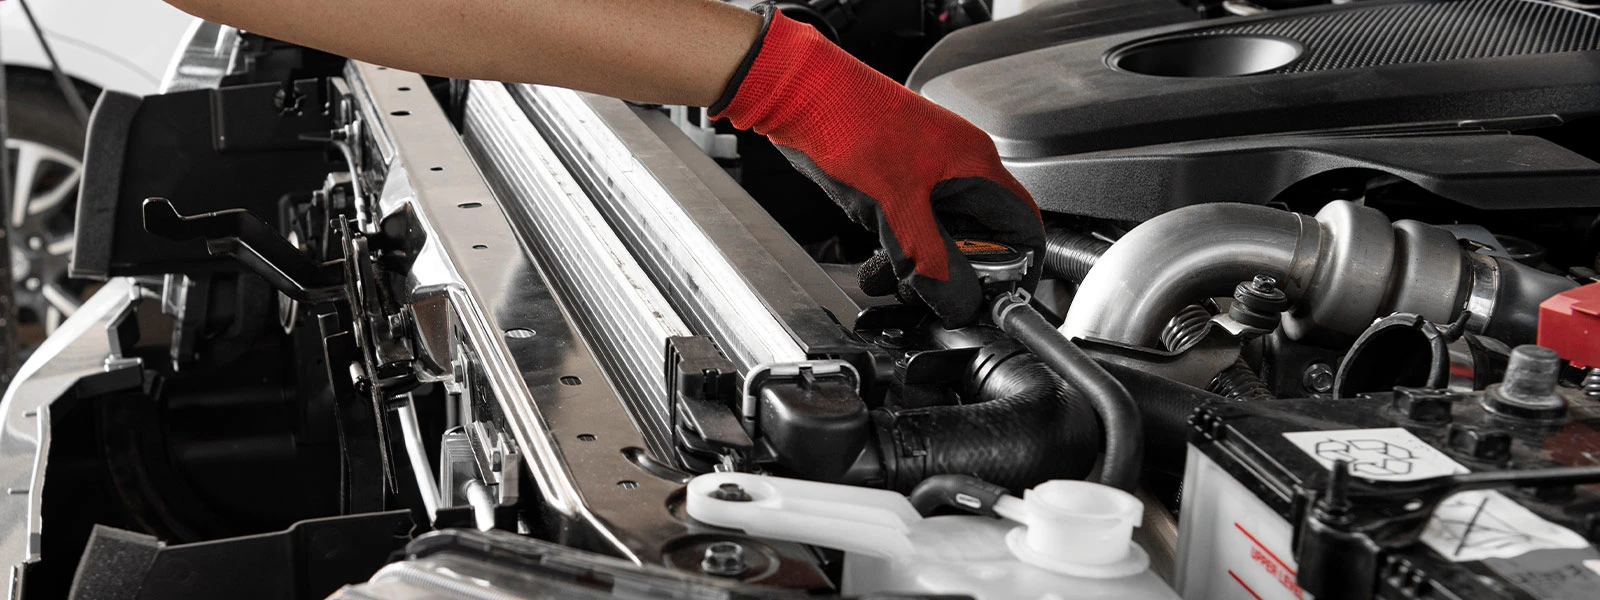
2. Drain the Coolant
To drain the coolant from the radiator, you should firstly make sure that the engine is cool. Also, it is important to take proper precautions, such as a container to collect the old coolant, gloves, and safety glasses. Because the coolant can be toxic. Then you can follow the steps below:
- Locate the Radiator Drain Plug:Locate the radiator drain plug, which is typically located at the bottom of the radiator. If you cannot locate the drain plug, refer to the vehicle's owner manual for specific instructions on how to drain the coolant.
- Open the Radiator Cap: Open the radiator cap to allow air to enter the system and to prevent a vacuum from forming as the coolant drains.
- Place a Container Underneath the Radiator:Place a container large enough to hold the coolant underneath the radiator drain plug to collect the old coolant.
- Loosen the Radiator Drain Plug: Using a wrench or pliers, loosen the radiator drain plug to allow the coolant to drain into the container. Be careful not to strip or damage the drain plug.
- Drain the Coolant:Allow the coolant to drain completely into the container. If the coolant is still warm, use caution to avoid getting burned.
Once drained, securely close the drain plug to prevent leaks. And proper disposal of the old coolant is also crucial to protect the environment.
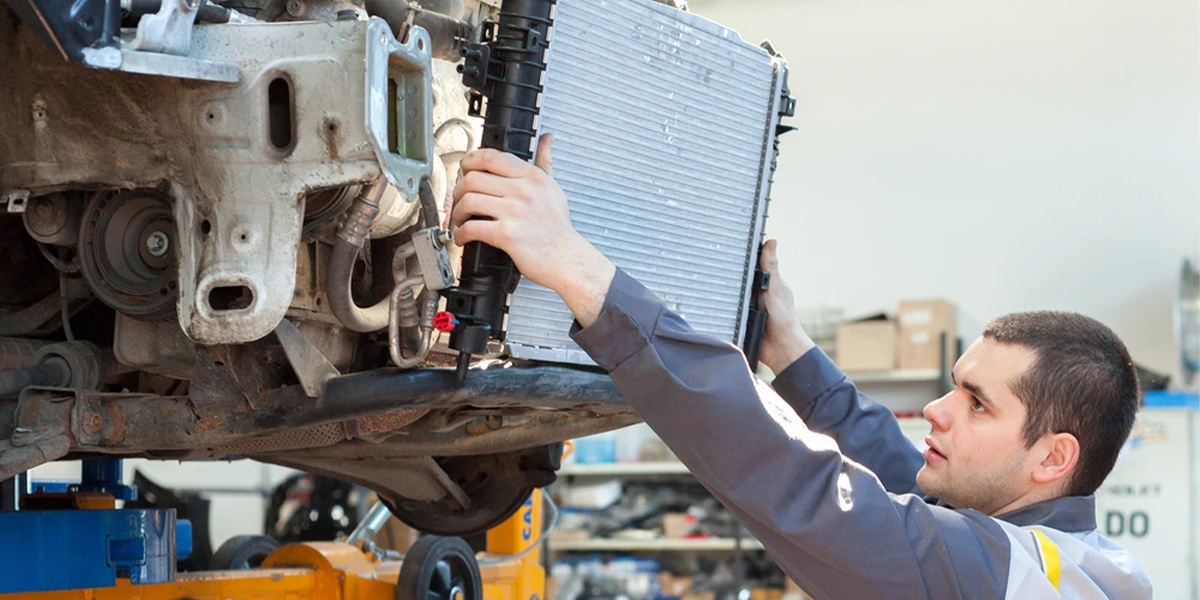
3. Remove the Car Radiator
To remove a radiator, you can follow the steps below:
- Disconnect the Hoses: Locate the upper and lower radiator hoses, and use a hose clamp tool or pliers to loosen and remove the clamps. Carefully remove the hoses from the radiator, taking care not to damage the radiator or the hoses.
- If the vehicle is equipped with an automatic transmission, it may have transmission cooler lines connected to the radiator. Use a line wrench to loosen and remove the connections.
- If the radiator has an electric fan, disconnect the electrical connector and remove any mounting bolts or clips to remove the fan from the radiator.
- Remove the Radiator Mounting Bolts: Locate the mounting bolts that secure the radiator to the vehicle's frame or support brackets. Use a socket wrench or adjustable wrench to remove the bolts, taking care not to damage any surrounding components.
- Remove the Radiator: Once the mounting bolts have been removed, carefully lift the radiator out of the vehicle, taking care not to damage any surrounding components. If the radiator is stuck, use a gentle twisting motion to release it from any remaining connections.
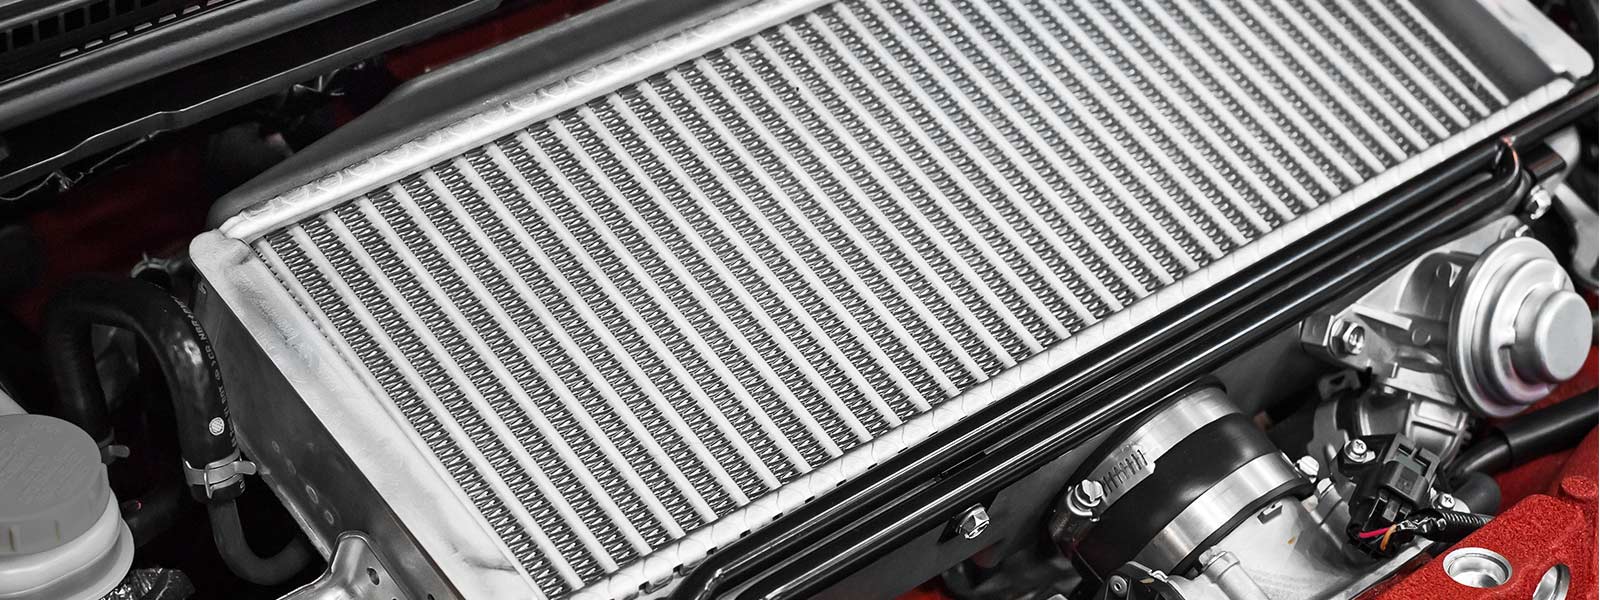
Once the radiator has been removed, inspect it for any signs of damage or wear. Check the fins, core, and tanks for any cracks, leaks, or other signs of damage. If the radiator is damaged, it may need to be repaired or replaced before reinstalling it.
4. Repair or Replace the Radiator
Before repair the radiator, you had better use a radiator cleaning solution or a mixture of water and vinegar to clean the radiator fins and core. This will help remove any dirt, debris, or corrosion that may be obstructing the airflow. Then you can perform repairs based on the type of problem.
- If the radiator has small leaks, they can be repaired with a radiator sealant. Follow the instructions on the sealant to apply it to the affected area. Allow the sealant to dry completely before refilling the radiator with coolant.
- If the radiator has cracks, they can be repaired using a soldering iron and aluminum solder. Use a wire brush to clean the area around the crack, and apply the solder to the crack using the soldering iron. Allow the solder to cool and harden before refilling the radiator with coolant.
- If the radiator fins are bent, use a fin comb or a small tool to carefully straighten them out. Be careful not to damage the fins further or break them off.
- If the radiator is severely damaged, it may be necessary to replace certain parts,such as the radiator core or tanks. Consult the owner's manual or a qualified mechanic for guidance on which parts to replace and how to install them.
5. Reinstall the Radiator
To reinstall a radiator, you can follow these steps:
- Reconnect Hoses and Transmission Cooler Lines: Reconnect the upper and lower radiator hoses and the transmission cooler lines, making sure to tighten the clamps securely. Check for any signs of damage or wear on the hoses and lines and replace them if necessary.
- Install the Radiator:Carefully install the radiator into the vehicle, taking care to align it properly with the mounting brackets or frame. Use caution not to damage any surrounding components.
- Reinstall the Radiator Mounting Bolts:Securely fasten the mounting bolts to hold the radiator in place. Tighten the bolts to the manufacturer's recommended torque specifications.
- Reconnect the Electrical Wiring:Reconnect any electrical wiring or connectors for the radiator fan or other components.
6. Refill the Coolant
To refill the coolant, open the coolant reservoir cap to allow air to enter the system and to prevent a vacuum from forming as the coolant is added. And using a funnel, slowly add the appropriate coolant mixture to the coolant reservoir until it reaches the recommended level. Be careful not to overfill the reservoir. Once the coolant has been added, close the coolant reservoir cap securely.
Then start the engine and allow it to idle for a few minutes to circulate the coolant through the system. After the engine has run for a few minutes, check the coolant level in the coolant reservoir. If necessary, add more coolant to bring the level to the recommended level.
7. Test the Radiator
To test the radiator, you can follow the steps below:
- Pressure Test the Radiator:Use a radiator pressure tester to pressurize the cooling system. Follow the manufacturer's instructions to connect the pressure tester to the radiator or coolant reservoir and pressurize the system. This will help identify any leaks in the system.
- Inspect for Leaks: Once the cooling system is pressurized, inspect the radiator, hoses, and other components for any signs of leaks or drips.
- Check the Temperature:Use a thermometer to check the temperature of the coolant as it circulates through the radiator. The temperature should be within the normal range for the vehicle. If the temperature is too high, it may indicate a problem with the radiator or the cooling system.
- Check the Flow:Check the flow of coolant through the radiator by observing the coolant as it circulates through the system. The coolant should flow smoothly and evenly through the radiator. If it appears to be sluggish or not flowing properly, it may indicate a problem with the radiator or the cooling system.
- Test the Radiator Cap:Check the radiator cap for any signs of damage or wear. A faulty radiator cap can lead to pressure loss in the cooling system, which can cause overheating and engine damage.
In conclusion, repairing a car radiator can be done in several ways depending on the type and severity of the damage. It is important to take safety precautions and follow the manufacturer's instructions or seek the assistance of a qualified mechanic or radiator specialist.


