How to replace brake pads and rotors

Learn how to replace brake pads and rotors, ensuring safe and efficient braking for your vehicle.
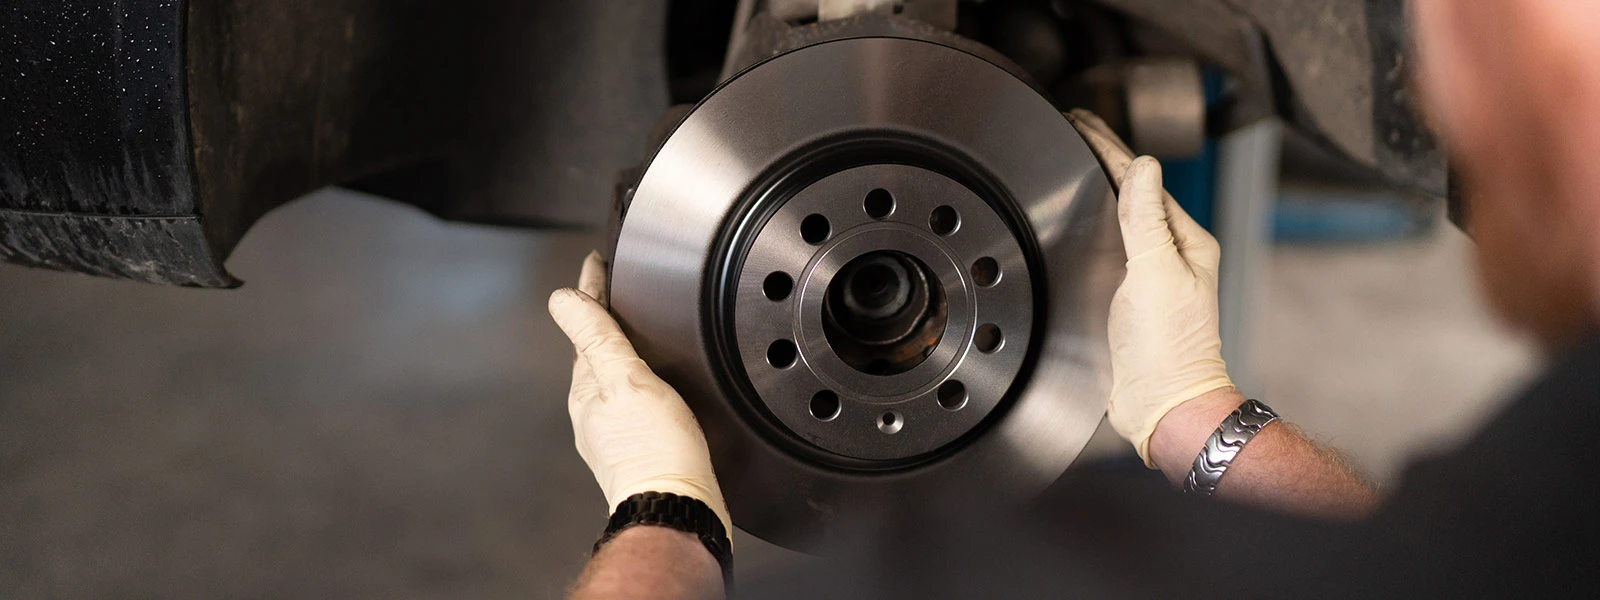
As a responsible vehicle owner, ensuring your car's braking system is in top-notch condition is crucial for both your safety and that of others on the road. The brake system consists of several components, with brake pads and rotors being two critical elements that require periodic maintenance and eventual replacement.
Brake pads and rotors work in tandem to bring your vehicle to a controlled stop. When you press the brake pedal, hydraulic pressure forces the brake caliper to squeeze the brake pads against the rotating brake rotor, creating friction that slows down the vehicle. This process generates a tremendous amount of heat and wear over time, causing the brake pads and rotors to gradually deteriorate.
Signs of bad brake pads and rotors
As these essential components wear down, you may notice various warning signs, such as:
- Squealing or screeching noises
- Grinding or metal-on-metal noise
- Reduced braking performance
- Vibration or pulsation
- Brake fluid leaks
- Burning smell
- Brake dust buildup
- Uneven brake pad wear
Have your vehicle's braking system inspected by a qualified mechanic as soon as possible If you notice any of these warning signs.
How to change brake pads and rotors: the tool list
Before starting to change the brake pad and rotor, make sure you have all the necessary tools readily available.
- Car Jack and Jack Stands: Elevate and support the vehicle securely.
- Lug Wrench: Loosen and remove the lug nuts.
- C-Clamp or Brake Caliper Tool: Compress the brake caliper piston.
- Socket and Ratchet Set: Remove bolts and fasteners.
- Screwdriver or Brake Caliper Tool: Remove retaining clips or pins.
- Brake Cleaner: Clean brake components before installation.
- Anti-Seize Compound: Apply to the wheel hub to prevent sticking.
- Grease: Lubricate caliper slide pins and moving parts.
Optional tools:
- Brake Piston Wind Back Tool: Wind back the caliper piston on some vehicles.
- Rubber Mallet or Dead Blow Hammer: Gently tap and remove stuck components.
- Wire Brush: Clean rust and debris from brake parts.
- Brake Pad Spreader: Spread brake pads apart for easier installation.
- Safety Gloves and Eye Protection: Protect hands and eyes from debris and brake dust.
Step-by-step guide: brake pads and rotors replacement
- Preparations and Safety:
- Park the car on a level surface and engage the parking brake.
- Loosen the lug nuts on the wheels you'll be working on (but don't remove them yet).
- Use a car jack to lift the vehicle off the ground, and secure it with jack stands for safety.

- Removing the Wheels:
Fully remove the lug nuts and take off the wheels, setting them aside in a safe area.
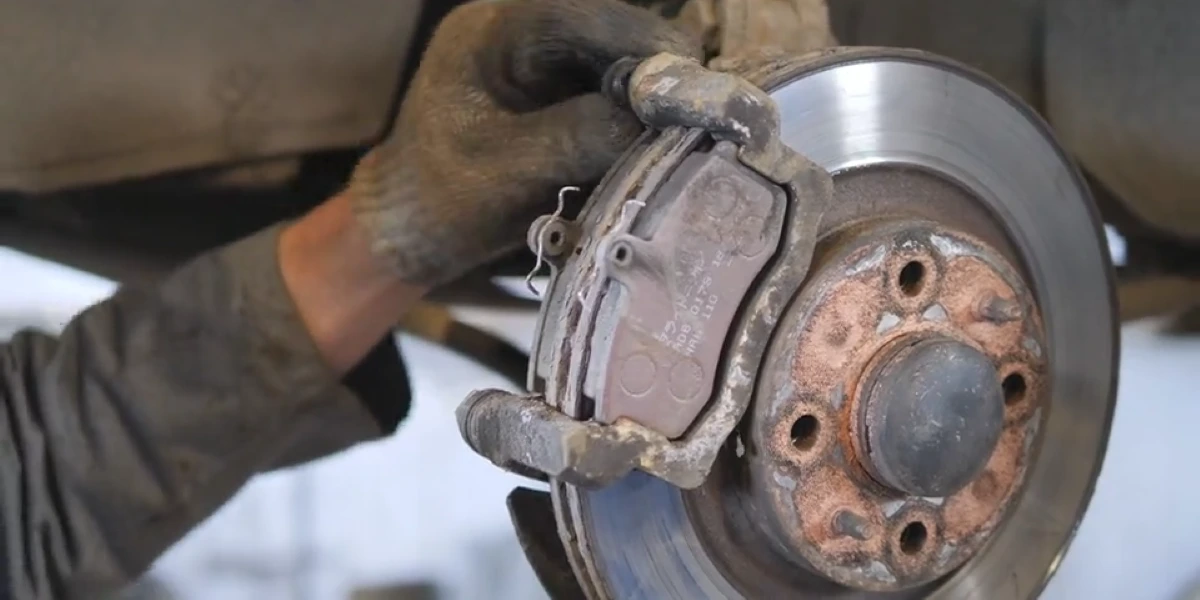
- Removing the Brake Caliper:
- Locate the brake caliper, which sits over the brake rotor.
- Remove the caliper bolts or sliding pins using the appropriate socket or wrench.
- Carefully lift the caliper off the rotor and suspend it using a wire or bungee cord to prevent strain on the brake line.
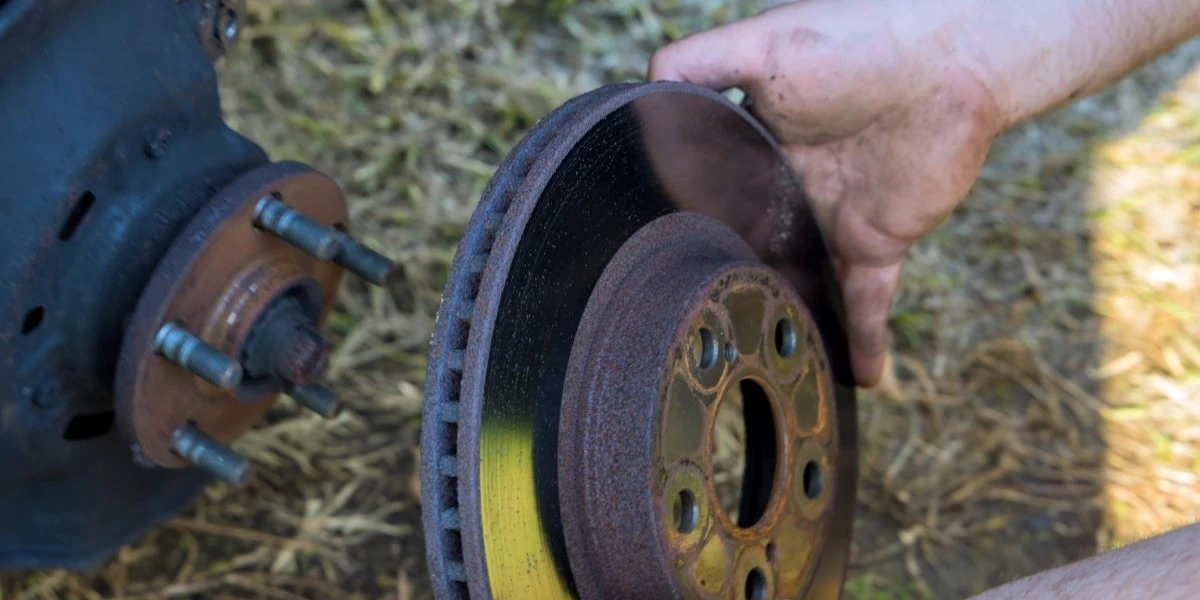
- Removing the Old Brake Pads and Rotor:
- Slide out the old brake pads from the caliper bracket or housing.
- Unbolt and remove the old rotor from the wheel hub. In some cases, it may be stuck due to rust; use a rubber mallet to gently tap it if necessary.

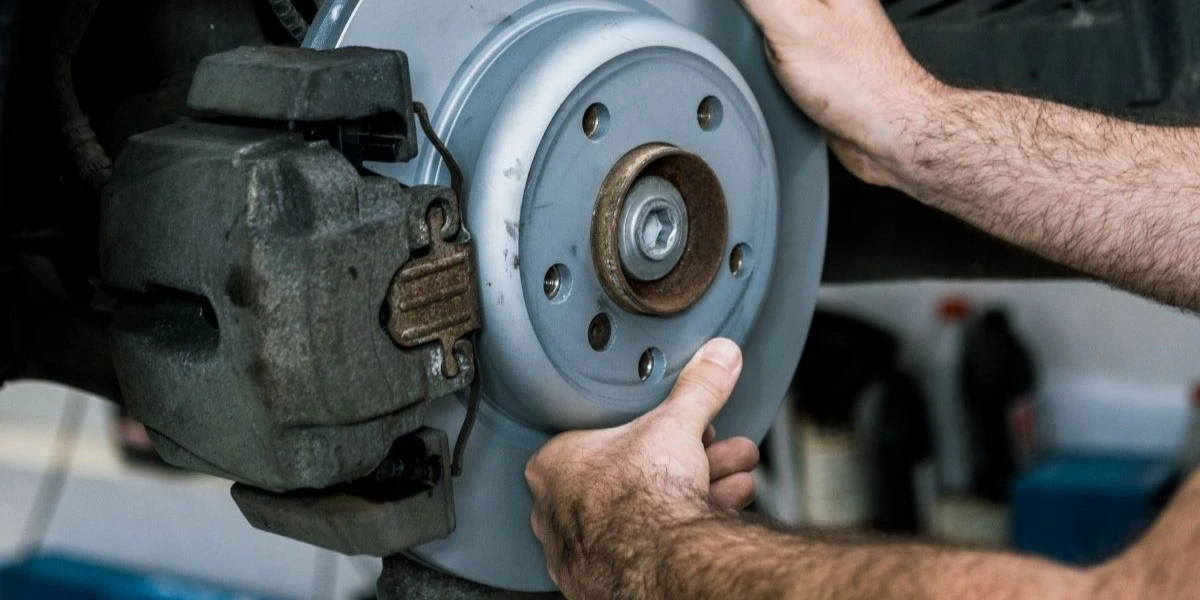
- Installing the New Brake Pads and Rotor:
- Clean the brake caliper and caliper bracket using brake cleaner.
- Install the new brake rotor onto the wheel hub.
- Place the new brake pads into the caliper bracket. If needed, use a C-clamp or brake caliper tool to compress the caliper piston fully.
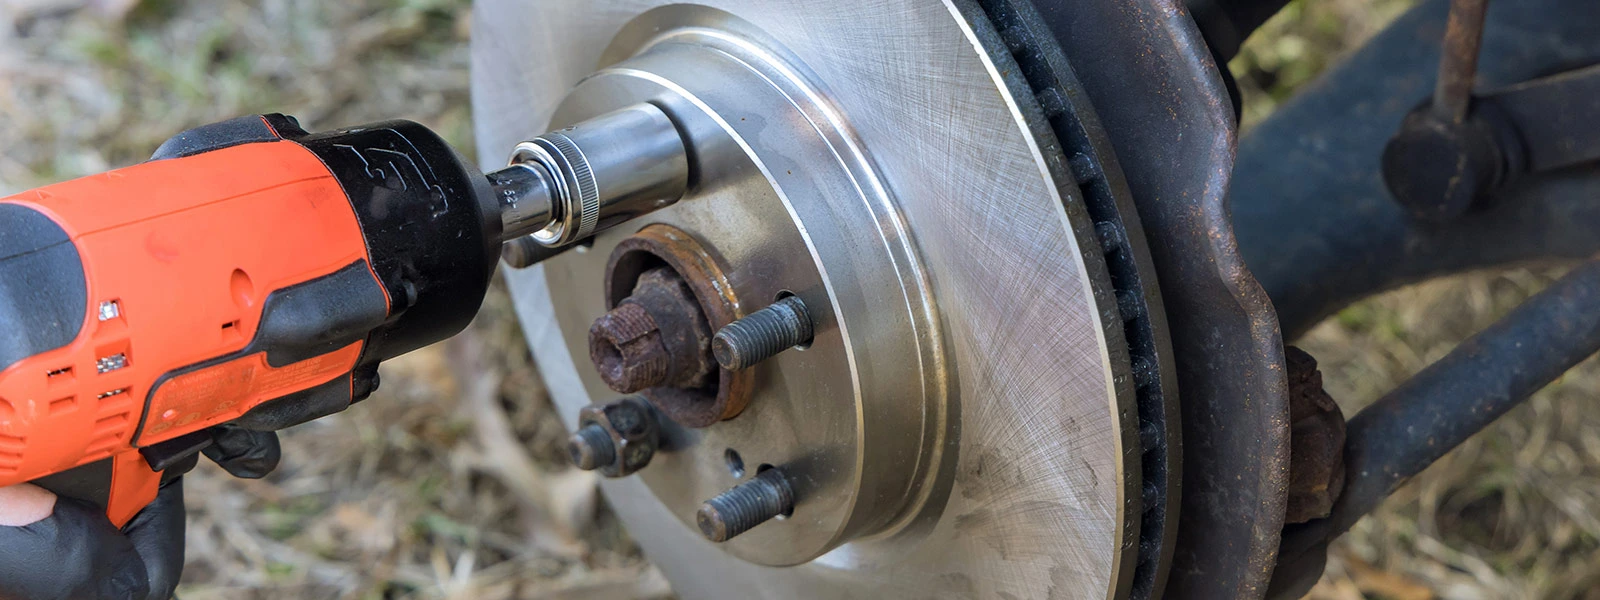
- Reassembling the Brake Caliper:
- Carefully lower the brake caliper onto the new brake pads.
- Align the caliper bolt holes with the caliper bracket holes and insert the caliper bolts or sliding pins.
- Tighten the caliper bolts to the manufacturer's recommended torque specifications.
- Lowering the Vehicle and Testing:
- Double-check that everything is properly assembled and secured.
- Carefully lower the vehicle back to the ground.
- Pump the brake pedal a few times to seat the new brake pads against the rotors.
- Test the brakes in a safe and open area to ensure they are working correctly before resuming regular driving.
- Repeat for Other Wheels:
Repeat the above steps for all remaining wheels that need brake pad and rotor replacement.
- Final Check:
- Check the brake fluid level in the reservoir and top up if necessary.
- Ensure all components are tightened to the appropriate torque specifications.
- Reinstall the wheels and tighten the lug nuts following a star pattern.
- Finally, take the vehicle for a short test drive to verify the brakes' smooth operation.

Note: Always follow the specific instructions provided by your vehicle's manufacturer and use quality replacement brake rotor and brake pad assembly parts to ensure safe and effective brake pad and rotor replacement. Any difficulties or confusion about any step, consult a professional mechanic for assistance.


