How to Fix a Leaking Fuel Tank

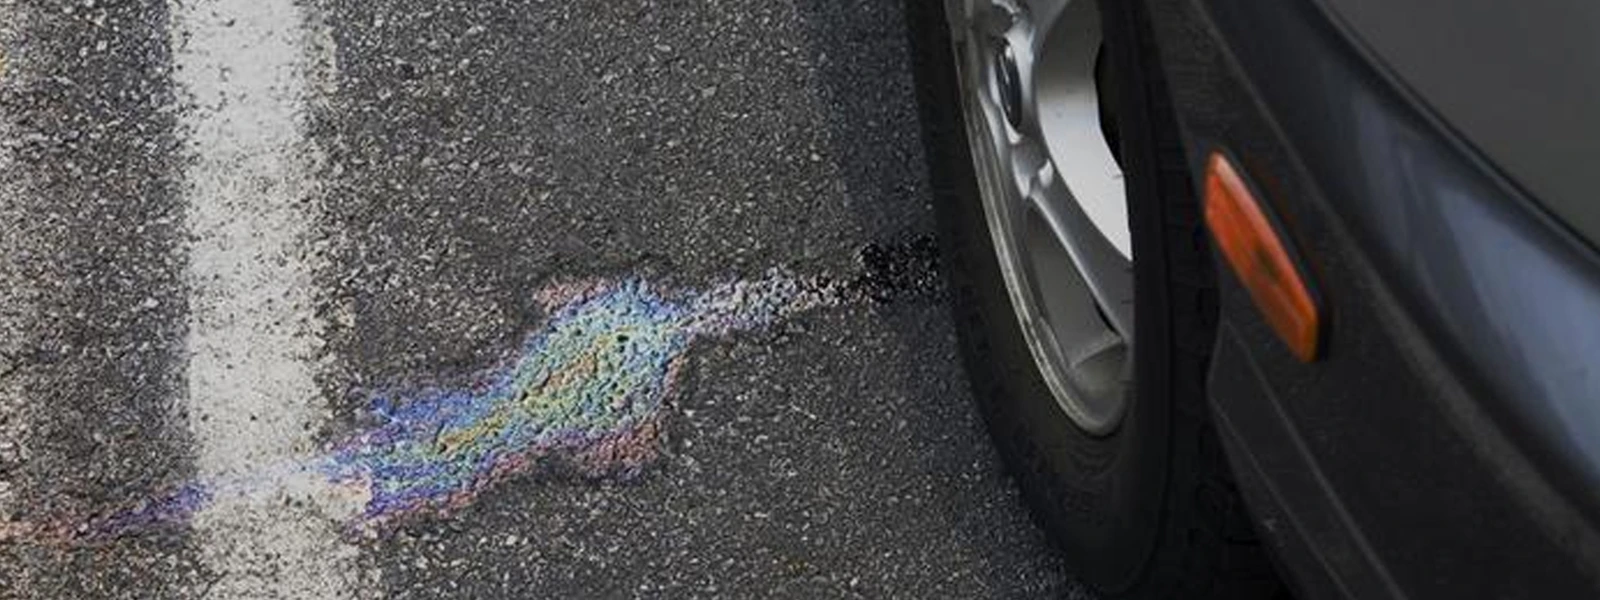
How to fix a leaking fuel tank? Don't worry. Fixing a leaking fuel tank is simple and you can do it at home with basic tools. If you don’t know how do you fix a hole in a gas tank, by following easy steps, you can stay safe on the road。


Is your car leaking fuel? How to fix a leaking fuel tank?Don't worry. Fixing a leaking fuel tank is simple and you can do it at home with basic tools. If you don’t know how do you fix a hole in a gas tank, by following easy steps, you can stay safe on the road and avoid any damage to your vehicle. In this article, we will guide you through the step-by-step process of fixing a leaking fuel tank.
What Causes Fuel Tank to Leak
Fuel leaks in vehicles can pose serious safety hazards and lead to costly repairs if left unaddressed. Understanding the various factors that can cause a fuel tank to leak is essential for maintaining vehicle safety and functionality. Here are some common culprits behind leaking fuel tanks:
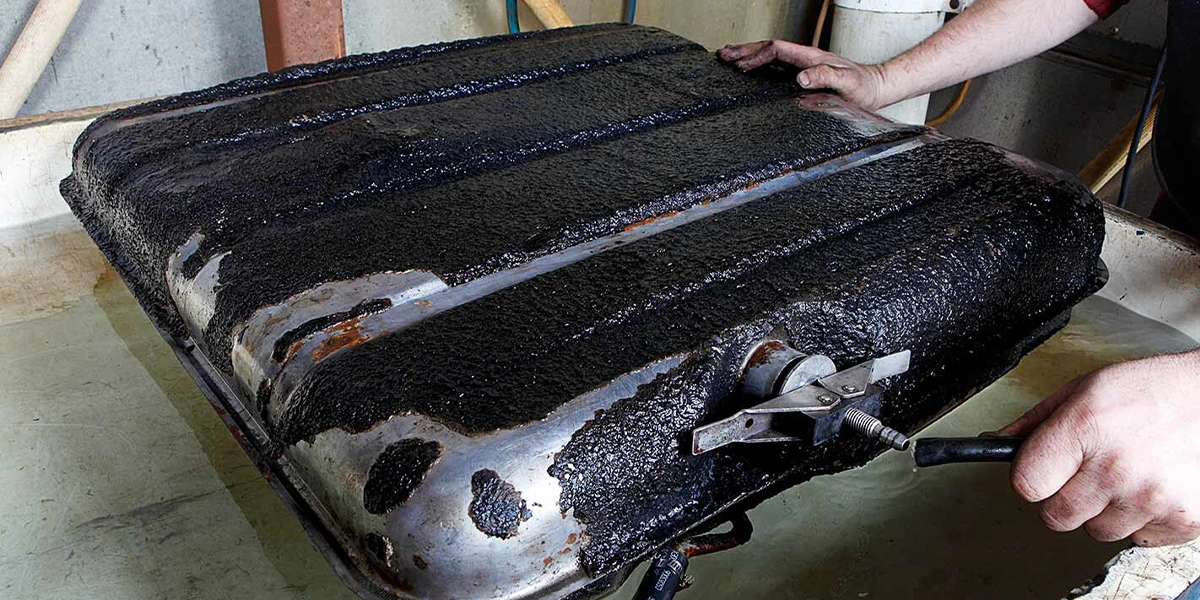
Worn or Damaged Fuel Tank: The primary cause of fuel leaks is often attributed to a worn or damaged fuel tank. Over time, exposure to environmental elements like sun, rain, and road debris can weaken the walls of the tank, leading to the formation of holes and cracks. Additionally, physical damage from accidents can compromise the integrity of the tank, necessitating immediate professional inspection and repair.
Faulty Fuel Lines: Fuel lines play a crucial role in transporting gasoline from the tank to the engine. When these lines become cracked or damaged, they can leak fuel onto the ground or into the engine compartment, posing a fire hazard and potentially damaging the engine. Regular inspection of fuel lines for signs of wear and tear is essential for early detection and prevention of leaks.
Leaking Fuel Injectors: Fuel injectors are responsible for delivering gasoline to the engine, but over time, they can become clogged with dirt and debris, leading to leaks. Identifying and addressing leaking fuel injectors promptly is important to prevent fuel wastage, engine damage, and safety risks.
Damaged Fuel Pump: The fuel pump is tasked with drawing gasoline from the tank and delivering it to the engine. If the pump becomes damaged, it can leak fuel onto the ground or into the engine compartment, presenting fire hazards and potential engine damage. Regular inspection of the fuel pump is crucial for maintaining its integrity and preventing leaks.
Bad Gas Cap: A seemingly minor yet common cause of fuel leaks is a faulty or improperly sealed gas cap. The gas cap serves to seal the fuel tank and prevent gasoline from leaking out. If the cap is damaged or not tightly sealed, it can allow fuel to escape from the tank, leading to leaks. Regular inspection of the gas cap is advised to ensure proper sealing and prevent fuel loss.
How to Fix a Leaking Gas Tank
Leaking fuel from your tank is not just a nuisance but also a serious safety hazard. However, repairing it doesn't have to be a daunting task. With the right approach and precautions, you can effectively seal the leak and get your tank back in working order. Here’s a comprehensive guide on how to fix a leaking fuel tank:
- Ensure Safety First
Let the tank cool down for at least 30 minutes if it has been recently used.
Use heat-resistant gloves if handling the tank before it cools completely.
Never attempt to drain hot fuel from the tank.
- Access the Tank
Use a jack to lift the vehicle if the tank is underneath.
Park on solid, flat ground and ensure stability on jack stands before accessing.
Drain the tank if necessary to avoid spills and ensure safety during repairs.
- Identify the Leak
Mark any spots where leaks are visible or suspected.
Clean the area around the leak to ensure effective repairs.
- Repair Options
Using Epoxy Putty:
Sand the area around the leak with 120-grit sandpaper.
Scrub the tank clean with rubbing alcohol or a degreaser.
Knead the putty and shape it to fit over the leaking area.
Spread the putty over the damaged area and allow it to dry for at least 1 hour.
Monitor the repair and replace the putty if needed.
Welding the Tank Shut:
Get the appropriate welder and welding rod based on the tank material.
Put on protective gear including a welding mask, gloves, and respirator.
Melt the welding stick around the edges of the leak to seal it.
Spread filler over the middle of the leak to ensure complete sealing.
Allow the repair to solidify for about 8 hours before further use.
- Final Checks
Once the repair is complete, check for any remaining leaks. Smooth out the patched area using sandpaper to blend it with the tank surface. And ensure the tank is completely dry and free from any fumes before refilling it with gas.
By following these steps carefully, you can effectively fix a leaking fuel tank and ensure the safety of yourself and others. Remember to prioritize safety at every stage of the repair process and consider seeking professional assistance if needed.
Choose a Fuel Tank Replacement at A-Premium
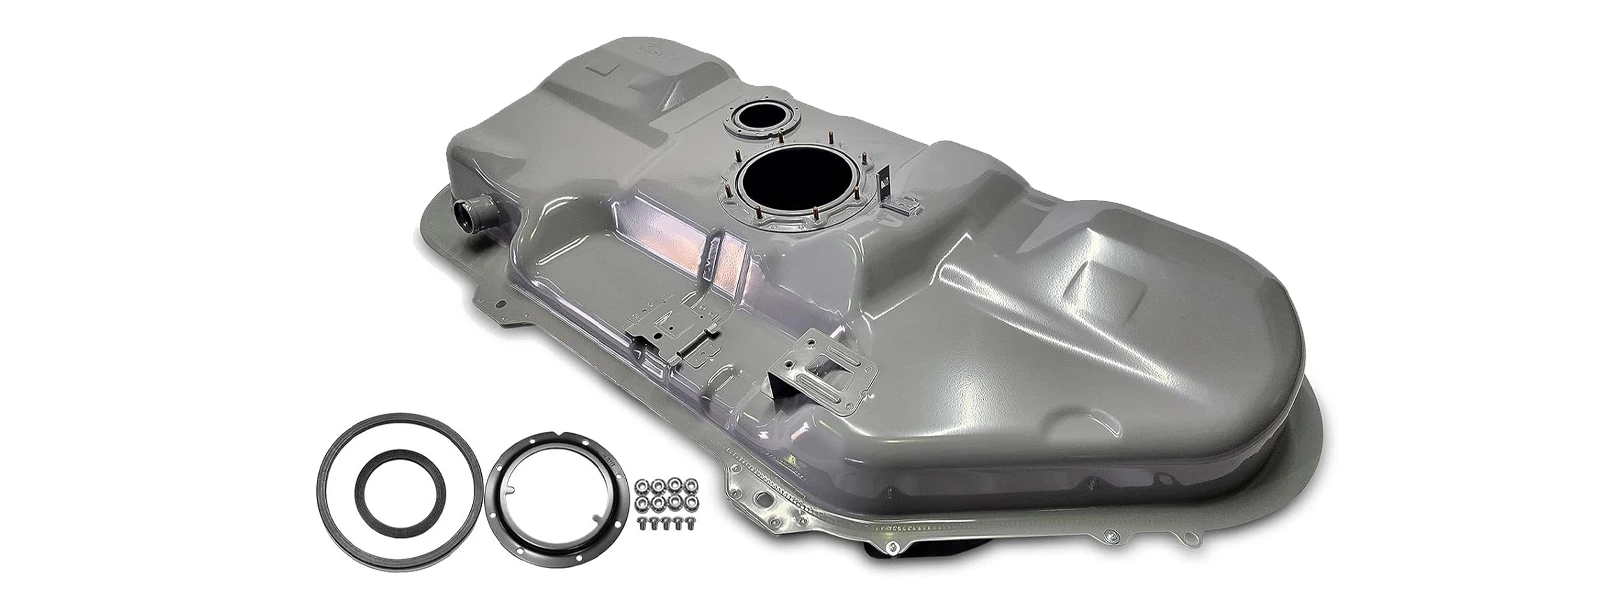
If your fuel tank is too broken to drive, you’d better choose a replacement fuel tank, A Premium offers a wide range of options tailored to various vehicle makes and models. Whether you drive a Ford, Chevrolet, Toyota, GMC, or any other brand listed, you can find the perfect fit for your vehicle. With a commitment to quality and reliability, A Premium ensures that each fuel tank meets or exceeds OEM standards, providing peace of mind for drivers seeking a durable and dependable replacement. From popular brands like Honda, Nissan, and Jeep to lesser-known ones like Eagle and Geo, A Premium has you covered. Whether you're restoring a classic car or simply need a reliable replacement for your daily driver, A Premium's extensive selection of fuel tanks ensures that you'll find the right one for your vehicle.
Conclusion
Knowing how to fix a gas leak on car is essential for safety and vehicle integrity. Understanding common causes like wear, faulty lines, and damaged components is key. Repairing can be done at home, prioritizing safety throughout. A Premium offers quality replacement tanks if repairs aren't feasible, ensuring vehicle safety and reliability.


