Is it hard to replace an alternator? NOT horribly difficult. It is considered a moderate-level repair job, requiring basic mechanical skills and the right tools. However, the difficulty can vary depending on the vehicle's make and model. Here are some tips for replacing an alternator.

1. Disconnect the Negative Battery Cable
Before start changing the alternator, always disconnect the negative battery cable to prevent shorts. Check the vehicle manual to see if a battery maintainer is needed to avoid drivability or module issues. Ensure the ignition is off. Then, disconnect the negative (ground) terminal, marked with a minus sign (–), and cover it to prevent accidental contact. Use this time to clean, inspect, and test the battery. A weak battery can lead to early alternator failure.
ATTENTION: Ensure the battery is fully charged after replacing the alternator. Using the new alternator to charge a low-voltage battery will do harm to the alternator.
2. Locate the Alternator
The alternator is attached to the engine, and its position varies depending on the vehicle, either at the front or side of the car. If you need to reach it from underneath, use professional tools to lift the vehicle and keep it stable, including hydraulic jack, jack stands, and wheel chocks.
3. Inspect Related Parts
While replacing the alternator, check these related components too:
1) Drive Belt: The lifespan of a drive belt is approximately 90,000 miles. Look for cracks, frays, and wear. A worn belt can cause noise and reduce alternator performance. Replace any other worn belts.
2) Drive Belt Tensioner: A well-running drive belt tensioner shouldn't be too tight or loose. Check the tensioner for smooth movement.
3) Belt Alignment and Pulley: Ensure the belt and pulleys are properly aligned. Worn pulleys or tensioners can cause the belt to slip. This can lead to strange sounds and poor alternator performance.
4) Battery Terminal B+ Voltage Wire: Inspect the 12v battery wire for damage or wear. A damaged wire can reduce alternator performance and may cause an electrical fire.
5) Electrical Plug Connector: Make sure the alternator pigtail and harness don't have loose terminals or damaged pigtail connectors. Replace damaged parts and use dielectric grease during installation.
6) Contamination: Ensure the alternator is not soaked in oil or other fluids. Contamination can damage the alternator and void the warranty.
4. Remove the Alternator
After checking and disconnecting the electrical connections, drive belt, and any obstructing parts, you can unbolt the alternator from the engine and its mounting brackets.
5. Determine the Right Fitment
Compare the old alternator with the replacement. Check if the electrical connector and the design match. Make sure the mounting bolt holes line up. Some alternators may look different because of changes made by the manufacturer. Check the paperwork that came with the replacement before thinking it is the wrong part.
6. Install the New Alternator
Align the alternator mounting holes and loosely install the bolts and nuts. Tighten them evenly, making sure all threads are engaged. On some vehicles, connect the electrical parts before fully tightening the alternator for better access. Position the drive belt and rotate the belt tensioner to install it. Refer to the under-hood belt routing diagram or consult a repair guide if needed. For tight spaces, start the belt on pulleys with a lip (usually grooved) and finish on the smooth pulley. Never force the belt. For manual tensioners, ensure about ½ inch of deflection in the belt between the farthest pulleys.
7. Finishing Up
After reinstalling the alternator, drive belt, and electrical connections, double-check the work area for any overlooked items. Remove all tools and loose parts. If a battery maintainer was used, follow the proper steps for it. Ensure the battery posts and cable connections are clean and secure. Replace any damaged parts. Install new felt washers on clean battery posts and reconnect the battery cables, starting with the positive and ending with the negative. Apply battery post grease to prevent corrosion.
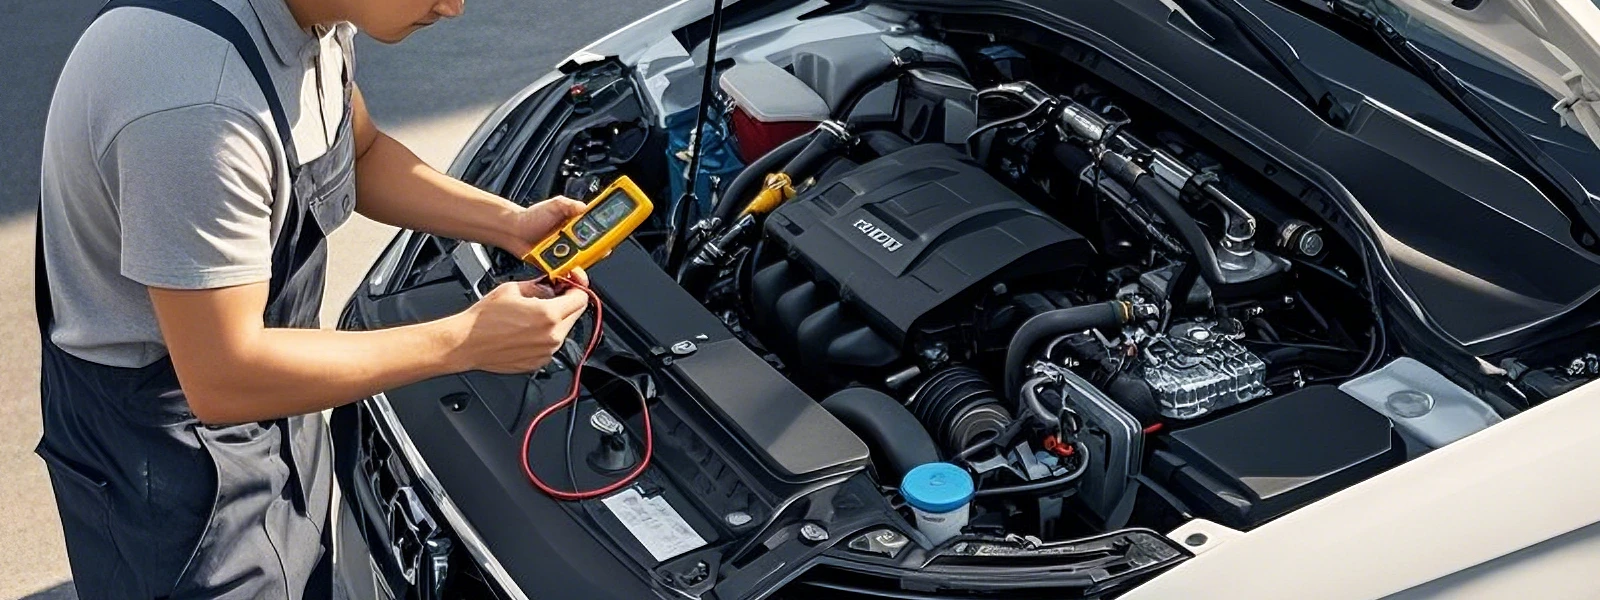
Test the alternator’s output with a multimeter. With the car running, the voltage should read between 13.25 to 15 volts. If not, check the wiring and connections. If troubleshooting is needed, consult a repair manual or visit a local shop for help.
ATTENTION: Ensure the battery is fully charged to avoid damaging the new alternator.